A big part of what I like to do regarding photography is to draw elements from other sources and work them into my own art. This commonly goes by the name appropriation. The subject itself can be a thorny one. There are issues of originality (think Sherrie Levine) and also, even more importantly, issues of copyright. I tend to draw from things I know are in the public domain, such as Renaissance art and publicly available graphics (such as NASA or CDC photographs. Even this gets a little thorny at times. I read somewhere that Microsoft owns the rights to digital representations of the Mona Lisa. I don’t know if that’s true or not, but if it is really does negate the concept of Public Domain. Carrie Mae Weems ran into trouble with her “From Here I Saw What Happened and I Cried” series. To construct that particular body of work, she borrowed prints (that were at least a century old) from Harvard University and made prints of her own from the images. She was subsequently threatened with copyright lawsuits if she displayed the work publicly. I can understand Harvard being nervous about the physical prints, however, in my recollection of the law they had no copyright claim to the latent images contained within the print. Copyright law is a gray area, indeed.
And how I’ve managed to go off on a tangent in my opening paragraph. I actually intended to make this about stuff I find.
There is a place here in Houston called “Texas Art Asylum.” Inside this nondescript building is a veritable treasure trove of castoff items. One can find post cards, cassette tapes, rusty nails, processed film, slides, photographic prints, old electronics, little green army men – let’s just say there is a lot of stuff contained in that establishment. I mainly go in and purchase the prints, the processed film, and the slides. It’s a good day indeed when $2.00 will yield you 155 frames of 35mm color film. In my most recent visit, I acquired the aforementioned film, along with some medical school CT scan slides and a rusty spike (which will be used in an upcoming photo project).
Scanning the film and slides, however, is the hard part. It just takes a long time. I also had a bit of a backlog from my last visit to Texas Art Asylum. Today I finally managed to finish the scanning of the new items and got to work on some of the backlog. The backlog consisted of slides from E-6 film. I don’t normally look at the slides before buying them (except for the medical slides). I find the discovery process during scanning yields some amazing inspirations. Imagine my surprise when I scanned the slides and found some to contain images of Renaissance Art. This was definitely a pleasant surprise. I even found one of my old favorites:

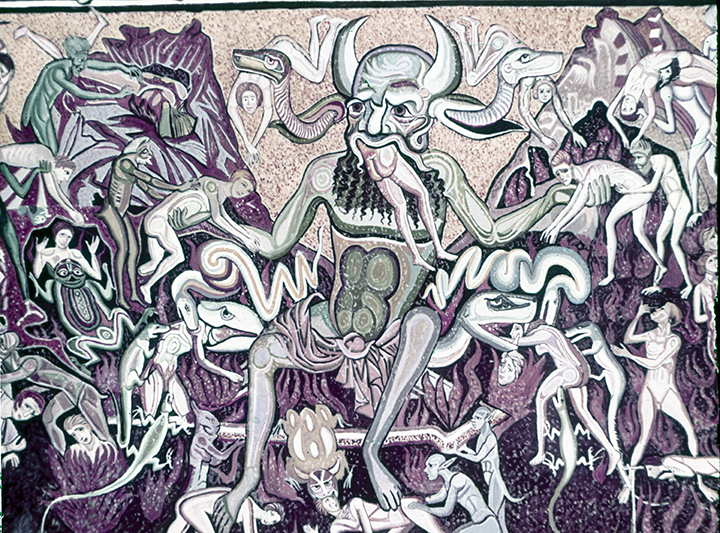
Detail of the ceiling of the Florentine Baptistery
I don’t know who painted this scene of Hell on the ceiling of the Florentine Baptistery. The detail in the film is amazing, and having this particular piece from which to draw inspiration is going to be fun. I even found one with an image of Titian’s “Venus of Urbino.” I have many more to scan, and hopefully I can find some more classic art pieces. There are only so many vacation pictures I can stand.
Anyway, I just thought to share this little tidbit with everyone. Just for grins, here are 2 pieces I created using elements from other works. The first is from my own photography as well as elements from items purchased at Texas Art Asylum. The second is a creative commons digital representation of the “Rokeby Venus” and a CDC micrograph of an Ebola virus.
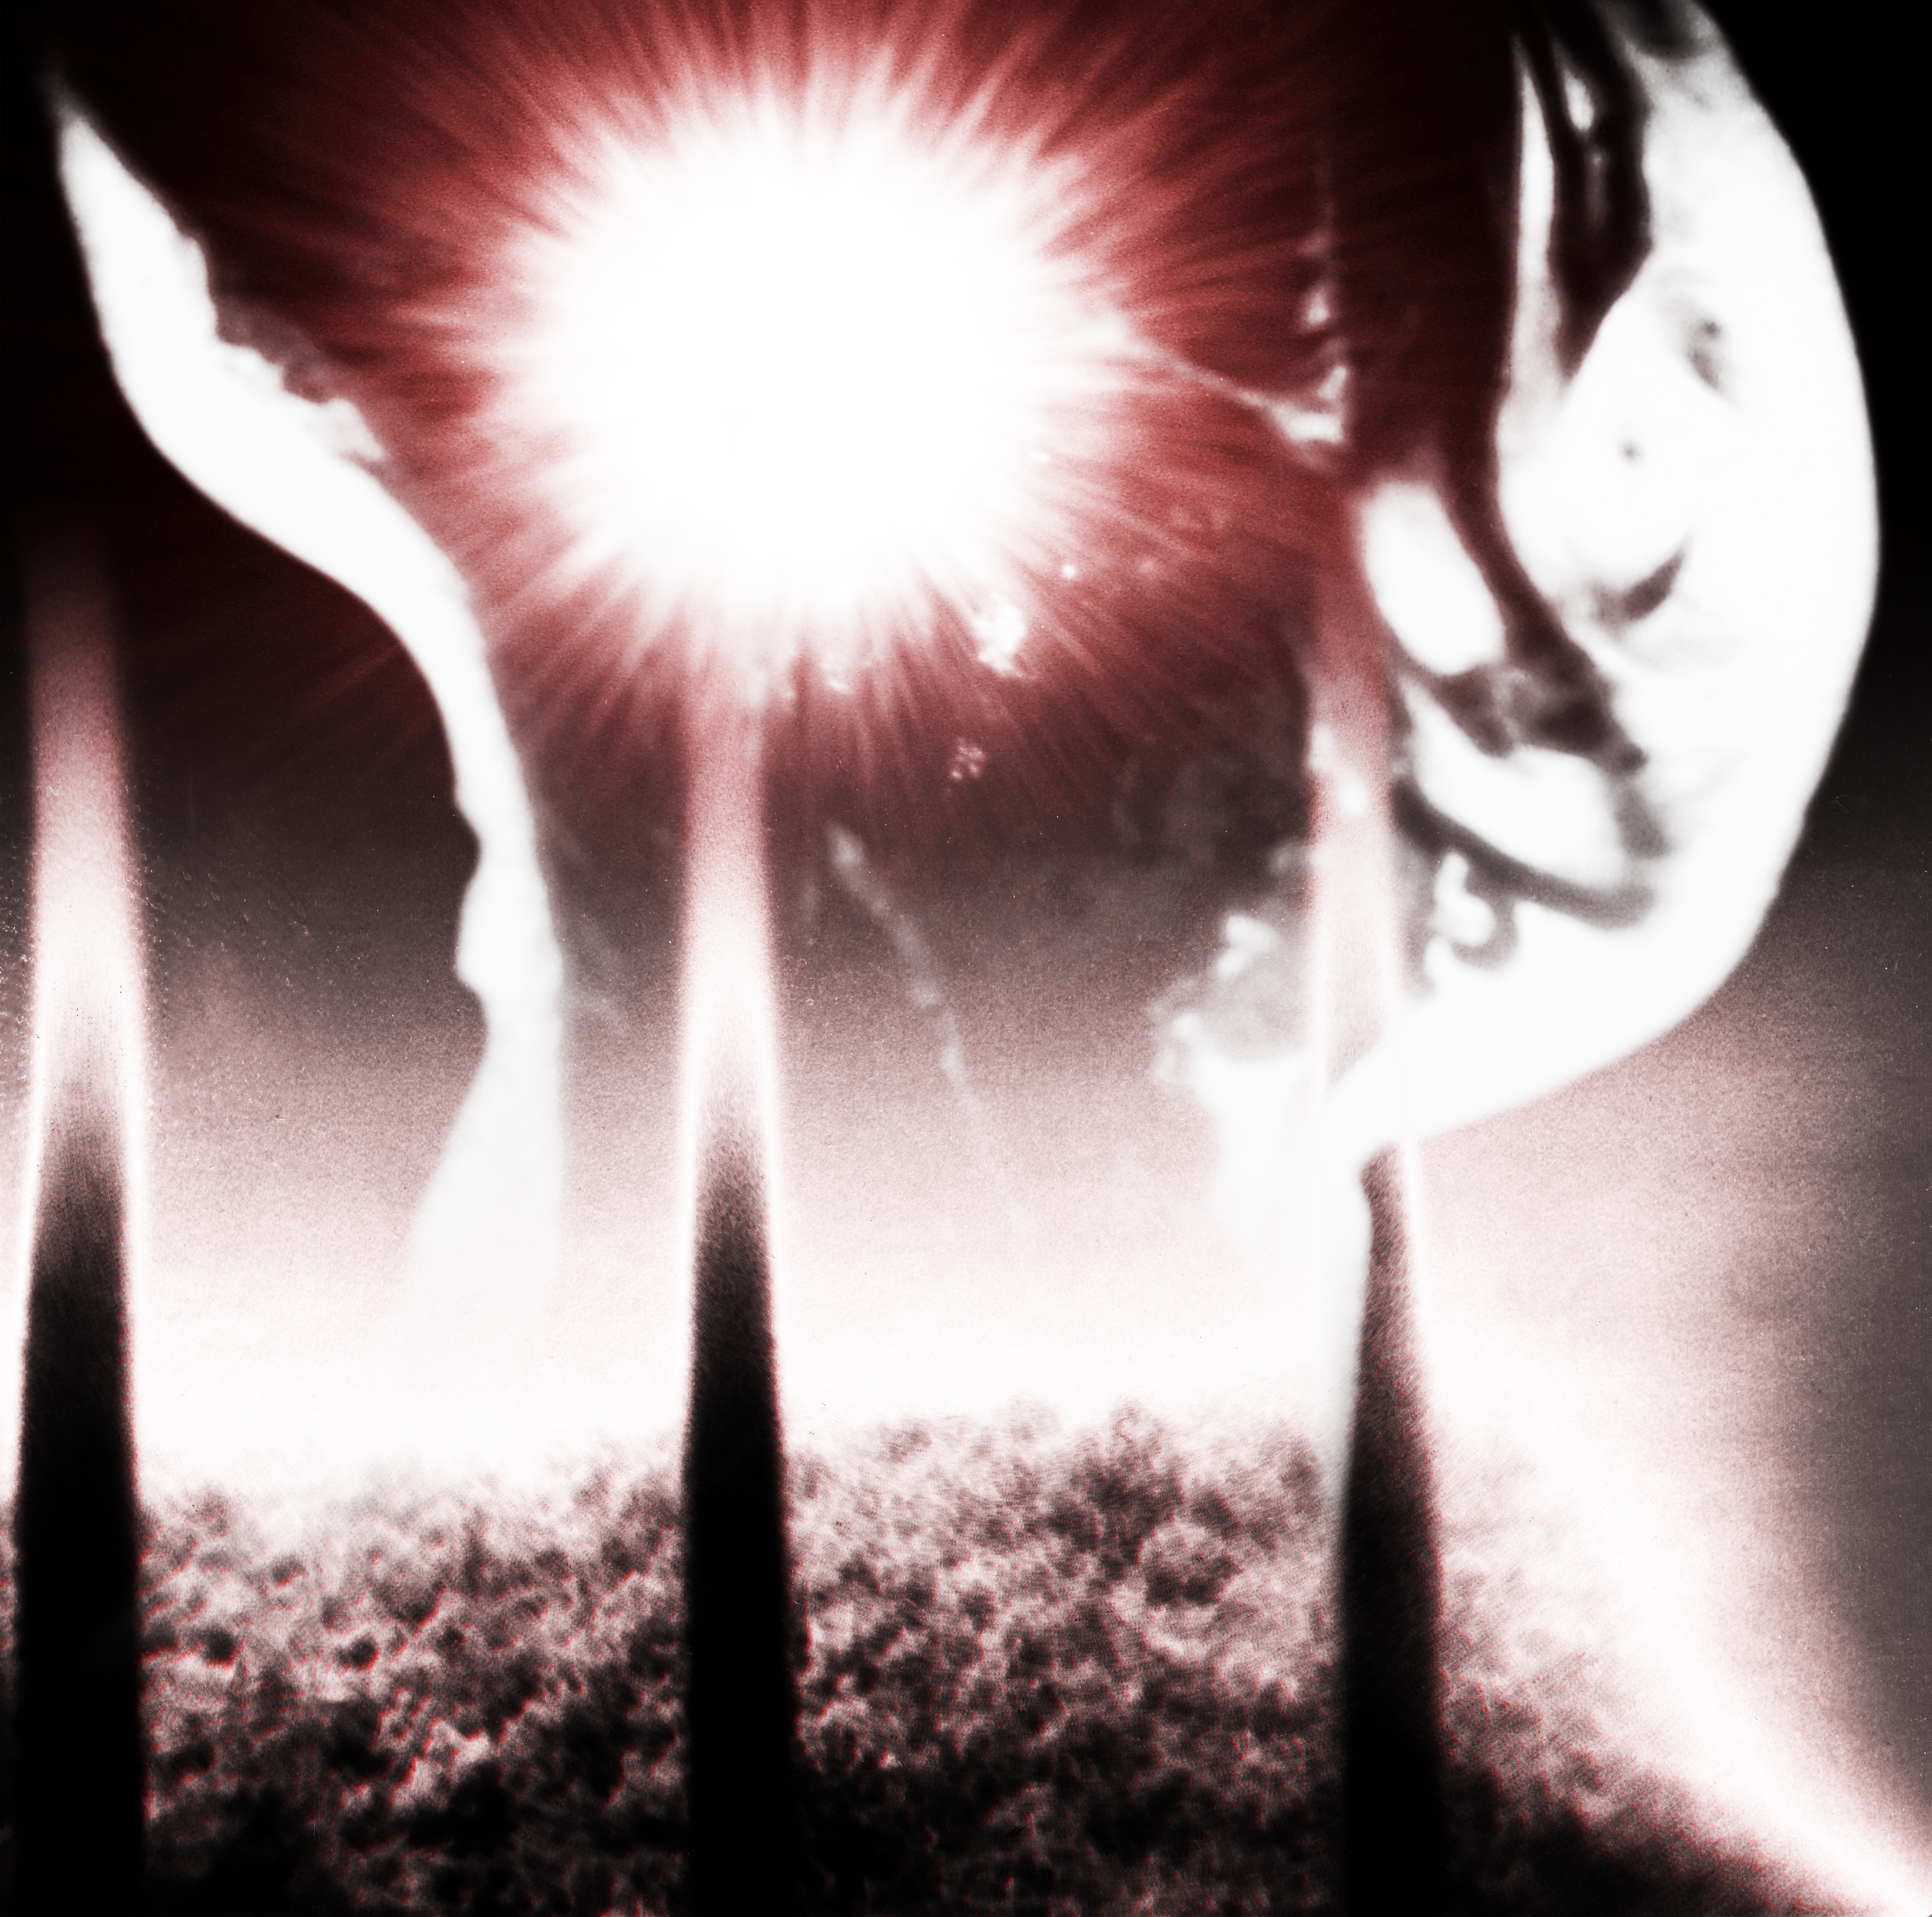
Mhothainn na Spirid/Mhothainn an Phian (2013)
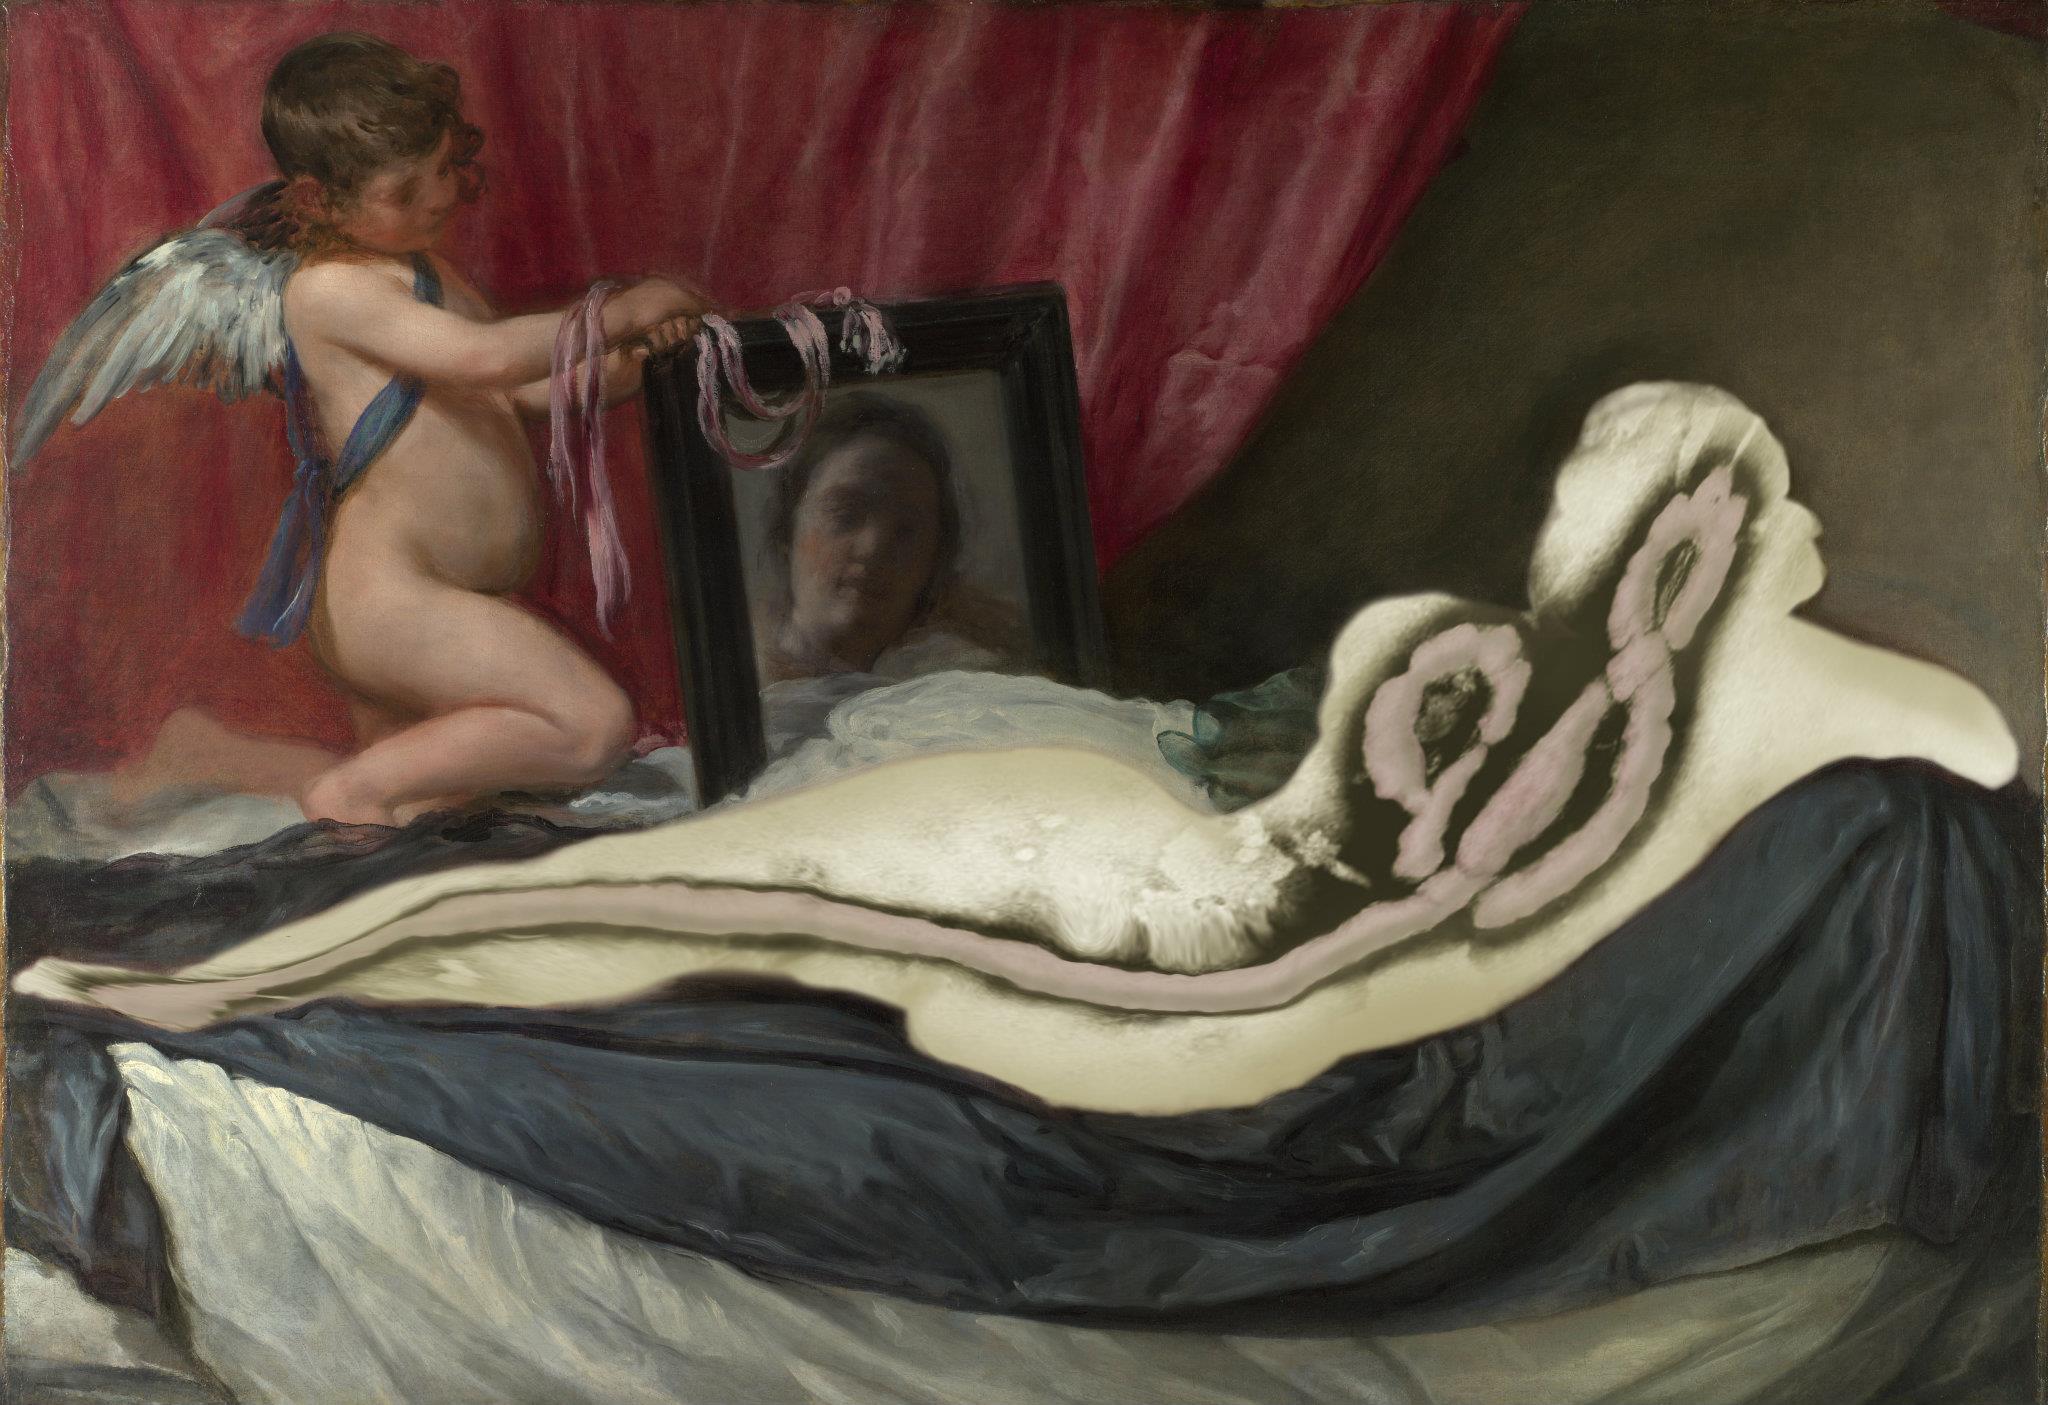
The Rokeby Virus (2011)